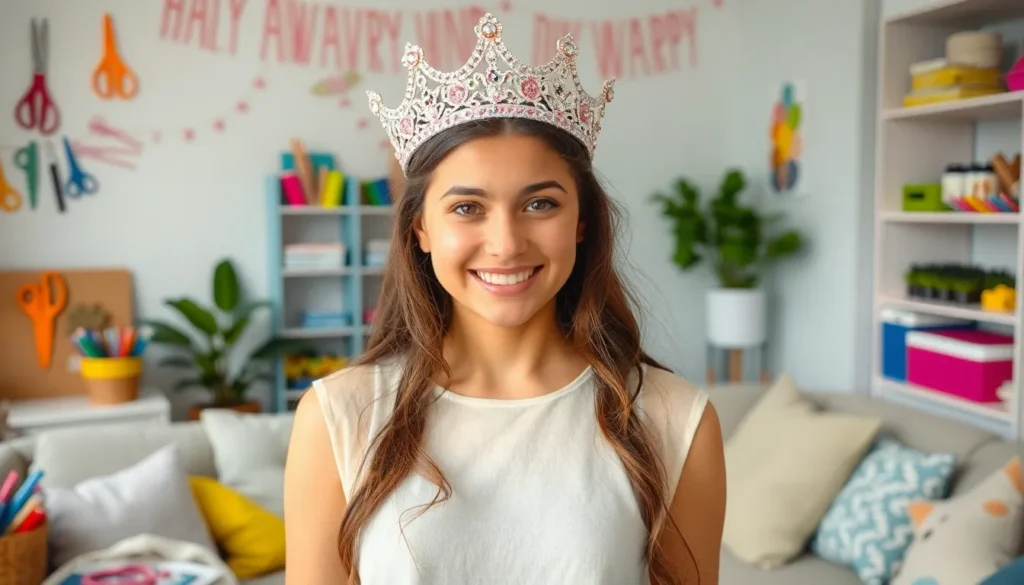

Every royal deserves a crown, and who says you can’t be the monarch of your own living room? DIY crowns and tiaras are the perfect way to unleash creativity while adding a touch of sparkle to any occasion. Whether it’s a birthday bash, a themed party, or just a Tuesday that needs some pizzazz, crafting your own regal headpiece can transform the mundane into the majestic.
Overview Of DIY Crowns And Tiaras
Crafting DIY crowns and tiaras offers a chance to create personalized accessories for various occasions. These handmade headpieces serve not only as party favors but also as engaging activities for family and friends. Many tutorials highlight simple techniques and materials, making it easy for anyone to get started.
Common materials include glitter, paper, and fabric. Each item creates a unique piece tailored to individual preferences and themes. Sequins and gemstones enhance the visual appeal while adding a touch of sparkle. Additionally, tools like scissors, glue, and wire facilitate the assembly process.
Ideas for themes abound. Princess, fairy, and superhero motifs remain popular among children and adults alike, allowing creators to express their inner royalty. Seasonal themes, such as winter wonderland or summer blooms, provide inspiration for specific events. Each theme encourages creativity, making the crafting experience enjoyable and rewarding.
People can customize size and shape according to their needs. Some opt for classic designs while others prefer elaborate, avant-garde styles. Experimentation with different lengths and heights can lead to eye-catching results, perfect for standing out at any gathering.
Sharing completed projects online fosters a sense of community among DIY enthusiasts. Platforms like Instagram and Pinterest showcase various designs and ideas, promoting inspiration and collaboration. Joining crafting groups or workshops also helps connect people with similar interests, enhancing skill development and knowledge sharing.
This creativity not only encourages artistic expression but also builds lasting memories and cherished keepsakes. Each crown or tiara crafted can transform an ordinary day into an extraordinary occasion.
Materials Needed For Crafting
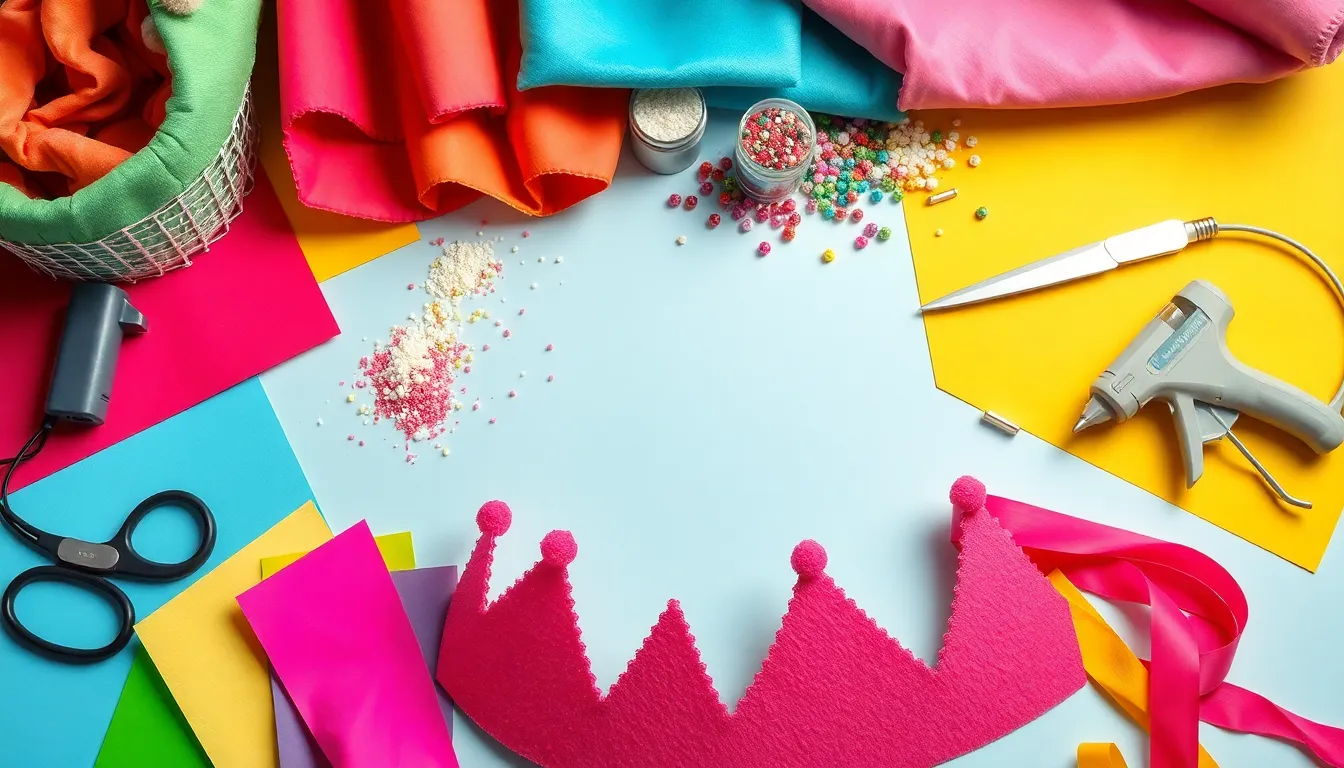
Crafting crowns and tiaras requires an array of tools and supplies that make the process enjoyable. Gather the following items before starting your project.
Essential Tools
- Scissors cut paper, fabric, or other materials. Different styles may serve distinct purposes.
- Hot glue gun bonds items quickly. It provides a strong hold for various components.
- Ruler ensures accurate measurements. Accurate sizing is crucial for a well-fitting headpiece.
- Pencil marks guidelines on materials. It helps to visualize designs before cutting.
- Wire cutters trim stiff materials like floral wire. Use them for structural support in creative designs.
Recommended Supplies
- Craft paper provides vibrant colors and patterns. Use sheets to create the crown base.
- Fabric adds texture. Consider satin, felt, or tulle for a unique look.
- Glitter enhances sparkle and glamour. Sprinkle it for a magical touch.
- Decorative embellishments like beads or flowers personalize each piece. Add these for individual flair.
- Headbands serve as a sturdy foundation. Choose comfortable options to facilitate wear during events.
Step-By-Step Guide To Making Crowns
Crafting crowns and tiaras transforms any occasion into a regal event. Follow these simple steps to create stunning headpieces that inspire creativity.
Simple Paper Crown
Creating a simple paper crown involves minimal materials. Start by cutting a strip of craft paper to fit the head size. Fold the strip into a circular shape and secure it using glue or tape. Next, cut points or curves into the top edge for a classic crown design. Decorate with markers, stickers, or more decorative paper to personalize the piece. Attach additional embellishments like faux jewels or sequins for added flair. Finally, use a hot glue gun for stability and make sure all components are secured before wearing.
Elegant Glitter Tiaras
An elegant glitter tiara offers a more sophisticated option. Begin by shaping a piece of flexible wire into a tiara frame. Ensure the frame comfortably fits the head, securing ends with tape. Next, cover the wire with a layer of glue, adding glitter as you go. For a dramatic effect, incorporate larger decorative elements such as feathers or gemstones. Allow the glue to dry completely before wearing. This customized design elevates any outfit, making it perfect for special occasions or themed parties.
Creative Ideas For Customization
Customization turns DIY crowns and tiaras into unique expressions of creativity. Personal touches make each headpiece special and memorable.
Adding Personal Touches
Incorporating initials or names adds a unique flair to crowns. Using favorite colors strengthens the connection to individual style. Special dates, like birthdays, can transform a crown into a cherished keepsake. Decorate with personal mementos such as charms or photos for added sentiment. Crafting with friends enhances the experience, allowing for shared ideas and inspiration.
Themes And Inspirations
Choosing specific themes sparks creativity when designing crowns and tiaras. Princess themes infuse classic elegance and whimsy. Fairy motifs invite enchantment with floral elements and soft colors. Superhero designs celebrate vibrant colors and bold shapes. Seasonal inspirations, such as autumn leaves or winter snowflakes, provide fresh ideas for each occasion. Exploring cultures can also inspire designs, including traditional patterns and symbols.
Safety Tips And Best Practices
Creating DIY crowns and tiaras involves safety considerations to ensure a smooth crafting experience. Wear appropriate safety gear, such as goggles, especially when using tools like scissors or hot glue guns. Keep work areas organized to prevent accidents with scattered materials.
Select non-toxic materials whenever possible to avoid health hazards. Opt for crafting supplies labeled as kid-friendly for projects involving children. Secure hair ties or other small items properly to prevent choking risks during crafting sessions.
Check tools for damage before use. Replace any broken scissors or glue guns to minimize potential injuries. Maintain a safe distance from heat sources when working with glue to prevent burns.
Follow proper crafting techniques while working with flexible wire. Always handle wire cutters carefully, ensuring fingers remain clear of cutting edges. If using adhesives, let them dry in a well-ventilated area to avoid inhaling fumes.
Encourage participants to work at their own pace. Rushing through steps could lead to mistakes or injuries. Discuss the project and allow for questions to promote a comfortable crafting environment.
Store materials in labeled containers to keep track of supplies and tools. This organization helps maintain focus and prevents unnecessary searching during the crafting process. Clean up immediately after working to create a safe and enjoyable space for future projects.
Overall, adhering to these safety tips enhances the DIY crown and tiara experience, allowing for stress-free creativity. Enjoy the crafting process while prioritizing safety to create beautiful headpieces.
Conclusion
Creating DIY crowns and tiaras opens a world of imagination and creativity. Whether for a special occasion or just for fun, these headpieces allow anyone to embrace their inner royalty. The process of crafting these accessories not only brings joy but also fosters connections with friends and family through shared experiences.
By personalizing designs and incorporating unique elements, each crown or tiara becomes a cherished keepsake. With simple materials and safety practices in mind, anyone can dive into this creative venture. So gather those supplies and let the crafting begin. Transform everyday moments into extraordinary memories with a touch of sparkle and creativity.